How do I create and manage roles and permissions in my business account?
Creating and managing roles and permissions for your Enterasource business account ensures that every team member has the appropriate level of access. Follow these steps to set up roles and permissions:
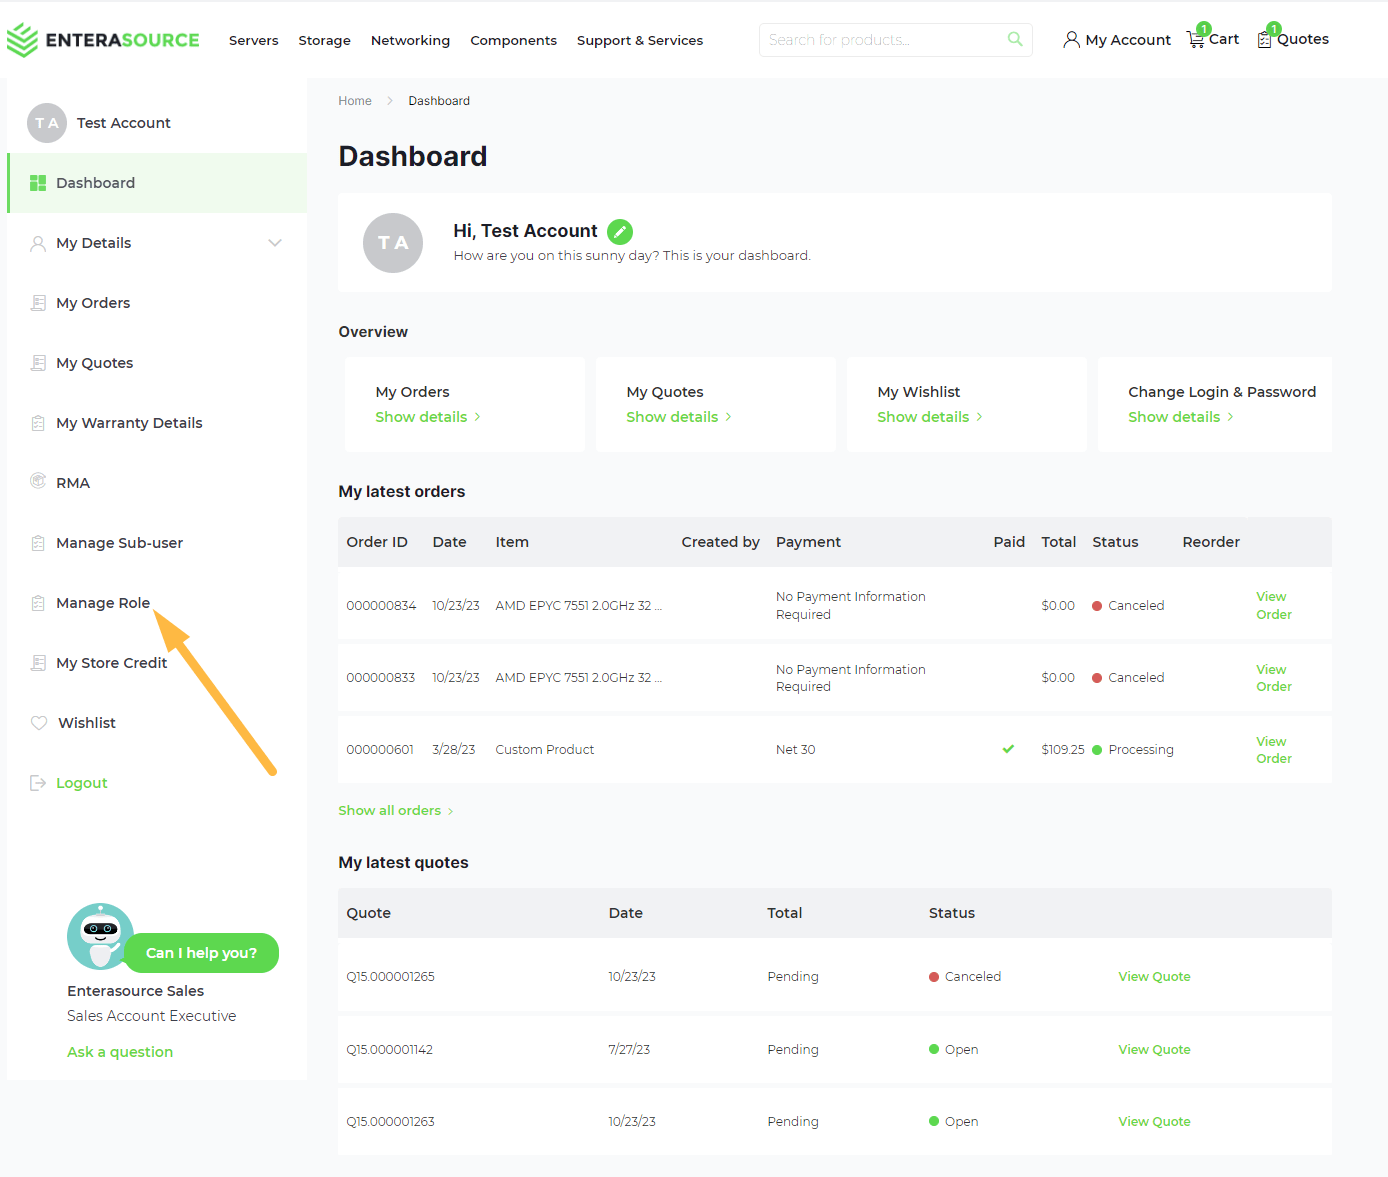
- Navigate to ‘My Account’: From the Enterasource website's top menu, select ‘My Account’ to access your account dashboard, or click on this direct link: My Account Dashboard.
- Go to ‘Manage Role’: In your account dashboard, locate and click on ‘Manage Role’.
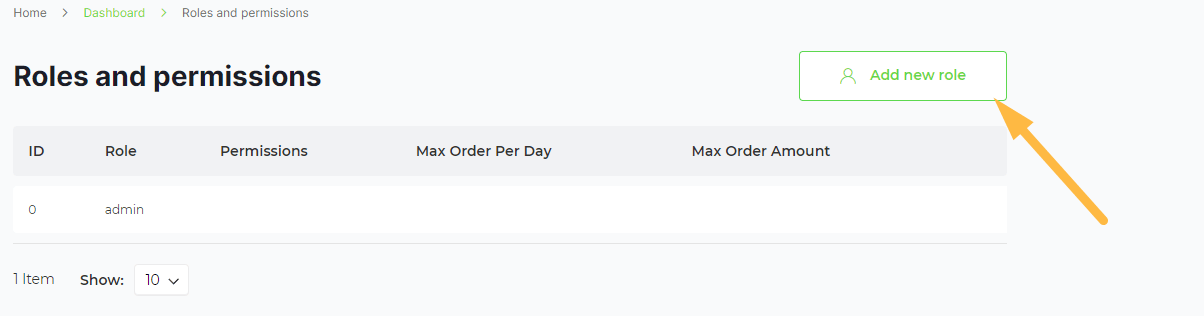
- View Existing Roles or Add New Role:
Here, you will see the existing admin role, which has full access.
To add a new role, click the ‘Add New Role’ button.
- Configure Role Settings:
On the ‘Roles and Permissions’ screen, configure the settings for your new role:
- Role Name: Enter a name for the role.
- Max Order Per Day: Define the maximum number of orders per day. Leave empty for unlimited.
- Max Order Amount: Set the maximum order amount. Leave empty for unlimited.
- Set Permissions for the Role:
This role has all the permissions (give admin access role): If selected, the role will have full access.
Enterasource Company Account Permissions:Basic:
- View Account Dashboard
- View Downloadable Product
- View and Add Account Wishlist
- View and Add Address Book
- View Stored Payment Method
Advanced:
- Manage Sub User and Roles
- View All Orders
- View Reports
- Save Your Changes: After configuring the role settings and permissions, save your changes.
Once saved, the new role will be available for assignment to sub-users within your business account, ensuring each team member has access to only the necessary resources and information.